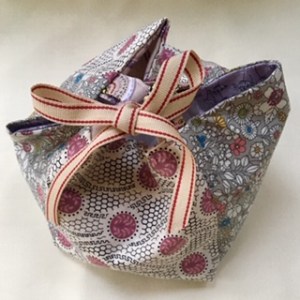
 This is a gorgeous little gift bag to make from fabric remnants. It’s not difficult – you could even sew it by hand although it’s easier and quicker to use a sewing machine.
Put a pretty bar of soap or a small scented candle inside and it makes a lovely personal birthday, seasonal or thank you gift. The bag is reversible too.
You can also make a bigger version of course.
What you need
Enough material to cut 11 squares measuring 12x12cm. You’ll need 4 for the inner sides, 4 for the outer sides, 1 inner base, 1 outer base and 1 piece for the drawstring loops.
Matching thread
Drawstring cord or ribbon
Sewing scissors, pins and a needle/sewing machine
How to make
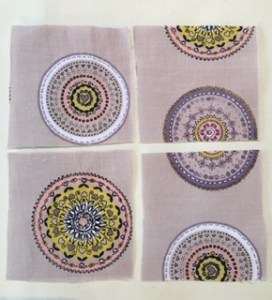
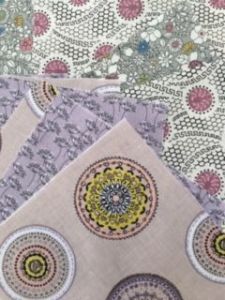 We think this bag works best when you use a mixture of fabrics. You could cut each square out of a different fabric or you could alternate the fabric or you could choose one pattern for one side of the bag and something different for the other. It’s up to you! If you’re a beginner, choose a fabric with patterns that don’t have to be a specific way up. Cut and then iron 11 squares of fabric, each measuring 12x12cm.
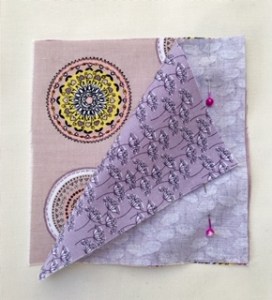


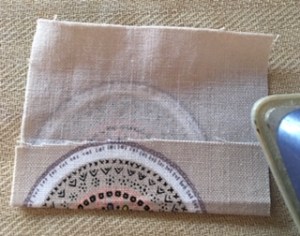
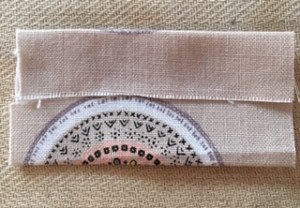
Take 2 squares and put them right sides together as in the above left photo. Pin the right hand edge and sew together. Take another square and pin it to one of the squares you have just sewn (right sides together) and then again so that you have 4 joined squares. Iron the seams flat.

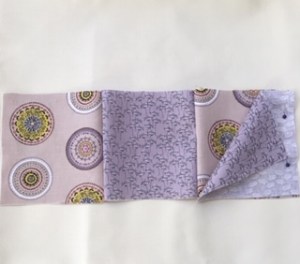
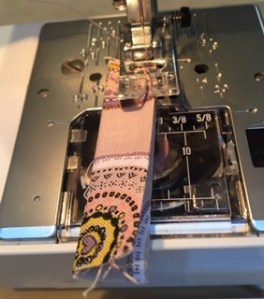
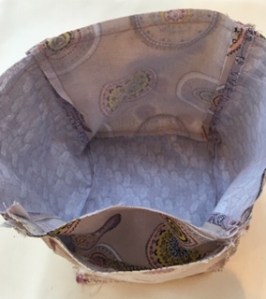
Sew the two ends together now – right sides together – so that you have a tube (see photo left).This next part is the trickiest bit. Choose a square for your base. Pin one edge of the base (right sides together) to one of the ‘tube’ squares. Sew. Do the same with each edge of the base. Now it really is looking like a bag (see photos below)!

Do exactly the same with another 5 squares so that you have two bags. Put one bag inside the other, right sides together.
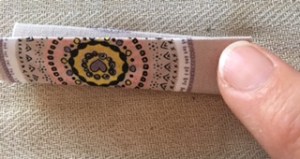
Now for the loops – the photos below should help. Take the last square and cut it into quarters. Now fold each square in half and open out again. Then fold one edge into the middle. Press with an iron (carefully!). Fold the opposite end into the middle and press. Fold in half and press again. Finally stitch the open edges together.
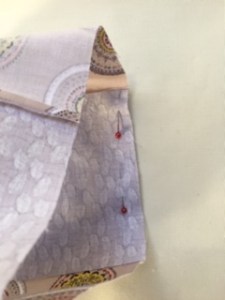
Almost there! Fold each loop in half and pin each one between the 2 bags so that the raw edges of the loop line up with the top edge of the bags. The loops should be pointing down and each loop should be positioned where the seams are.

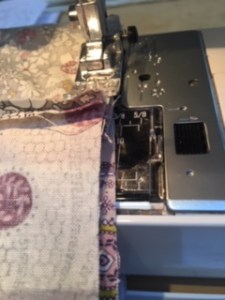
Once you’ve pinned them in place (you won’t be able to see them now), sew the two bags together along the top edge, taking care when you sew over the loop areas. Leave one section between two loops unstitched. This is so you can turn the bag the right way.
It’s the reveal time at last. Push the bag through the gap you have left unstitched. Iron carefully, paying attention to the edges. Sew up the gap either by hand or machine.

Now all you have to do is thread through your ribbon or cord and tie it into a bow.
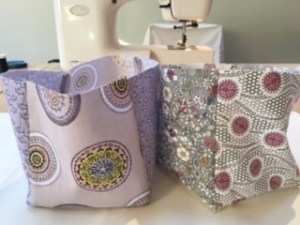
Ta da! You have created an original, beautiful reversible gift bag. Try making one using different fabrics or a larger size. We find making them a little bit addictive…

 We love the versatility of this year’s top trending colour – green. Go dark and sultry with deep bottle green tones or totally tropical with palm greens. Mint green is making a splash in interiors this year – bright, fresh and uplifting. And while blue is often considered to be a cold colour, it’s transformed with a touch of green – we are particularly partial to teal-green. Is it a blue or a green? The jury’s out on that one!
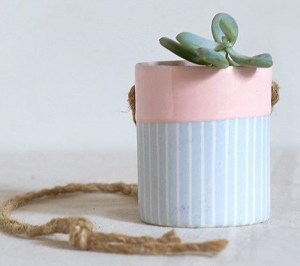

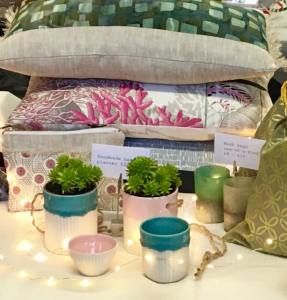 Come along and enjoy a glass of mulled wine, a mince pie or two and a spot of Christmas shopping at the Abbeville Christmas Fair in Clapham this Saturday 1 December. We have a new ceramics collection by Duck ceramics, our own gorgeous handmade creations – cushions, wash bags and zipper bags – plenty of gift ideas plus the best scented candles in town!
 We are super excited to be at the
  We’re super excited to be taking a stall at the
  We’re back again at the much loved